


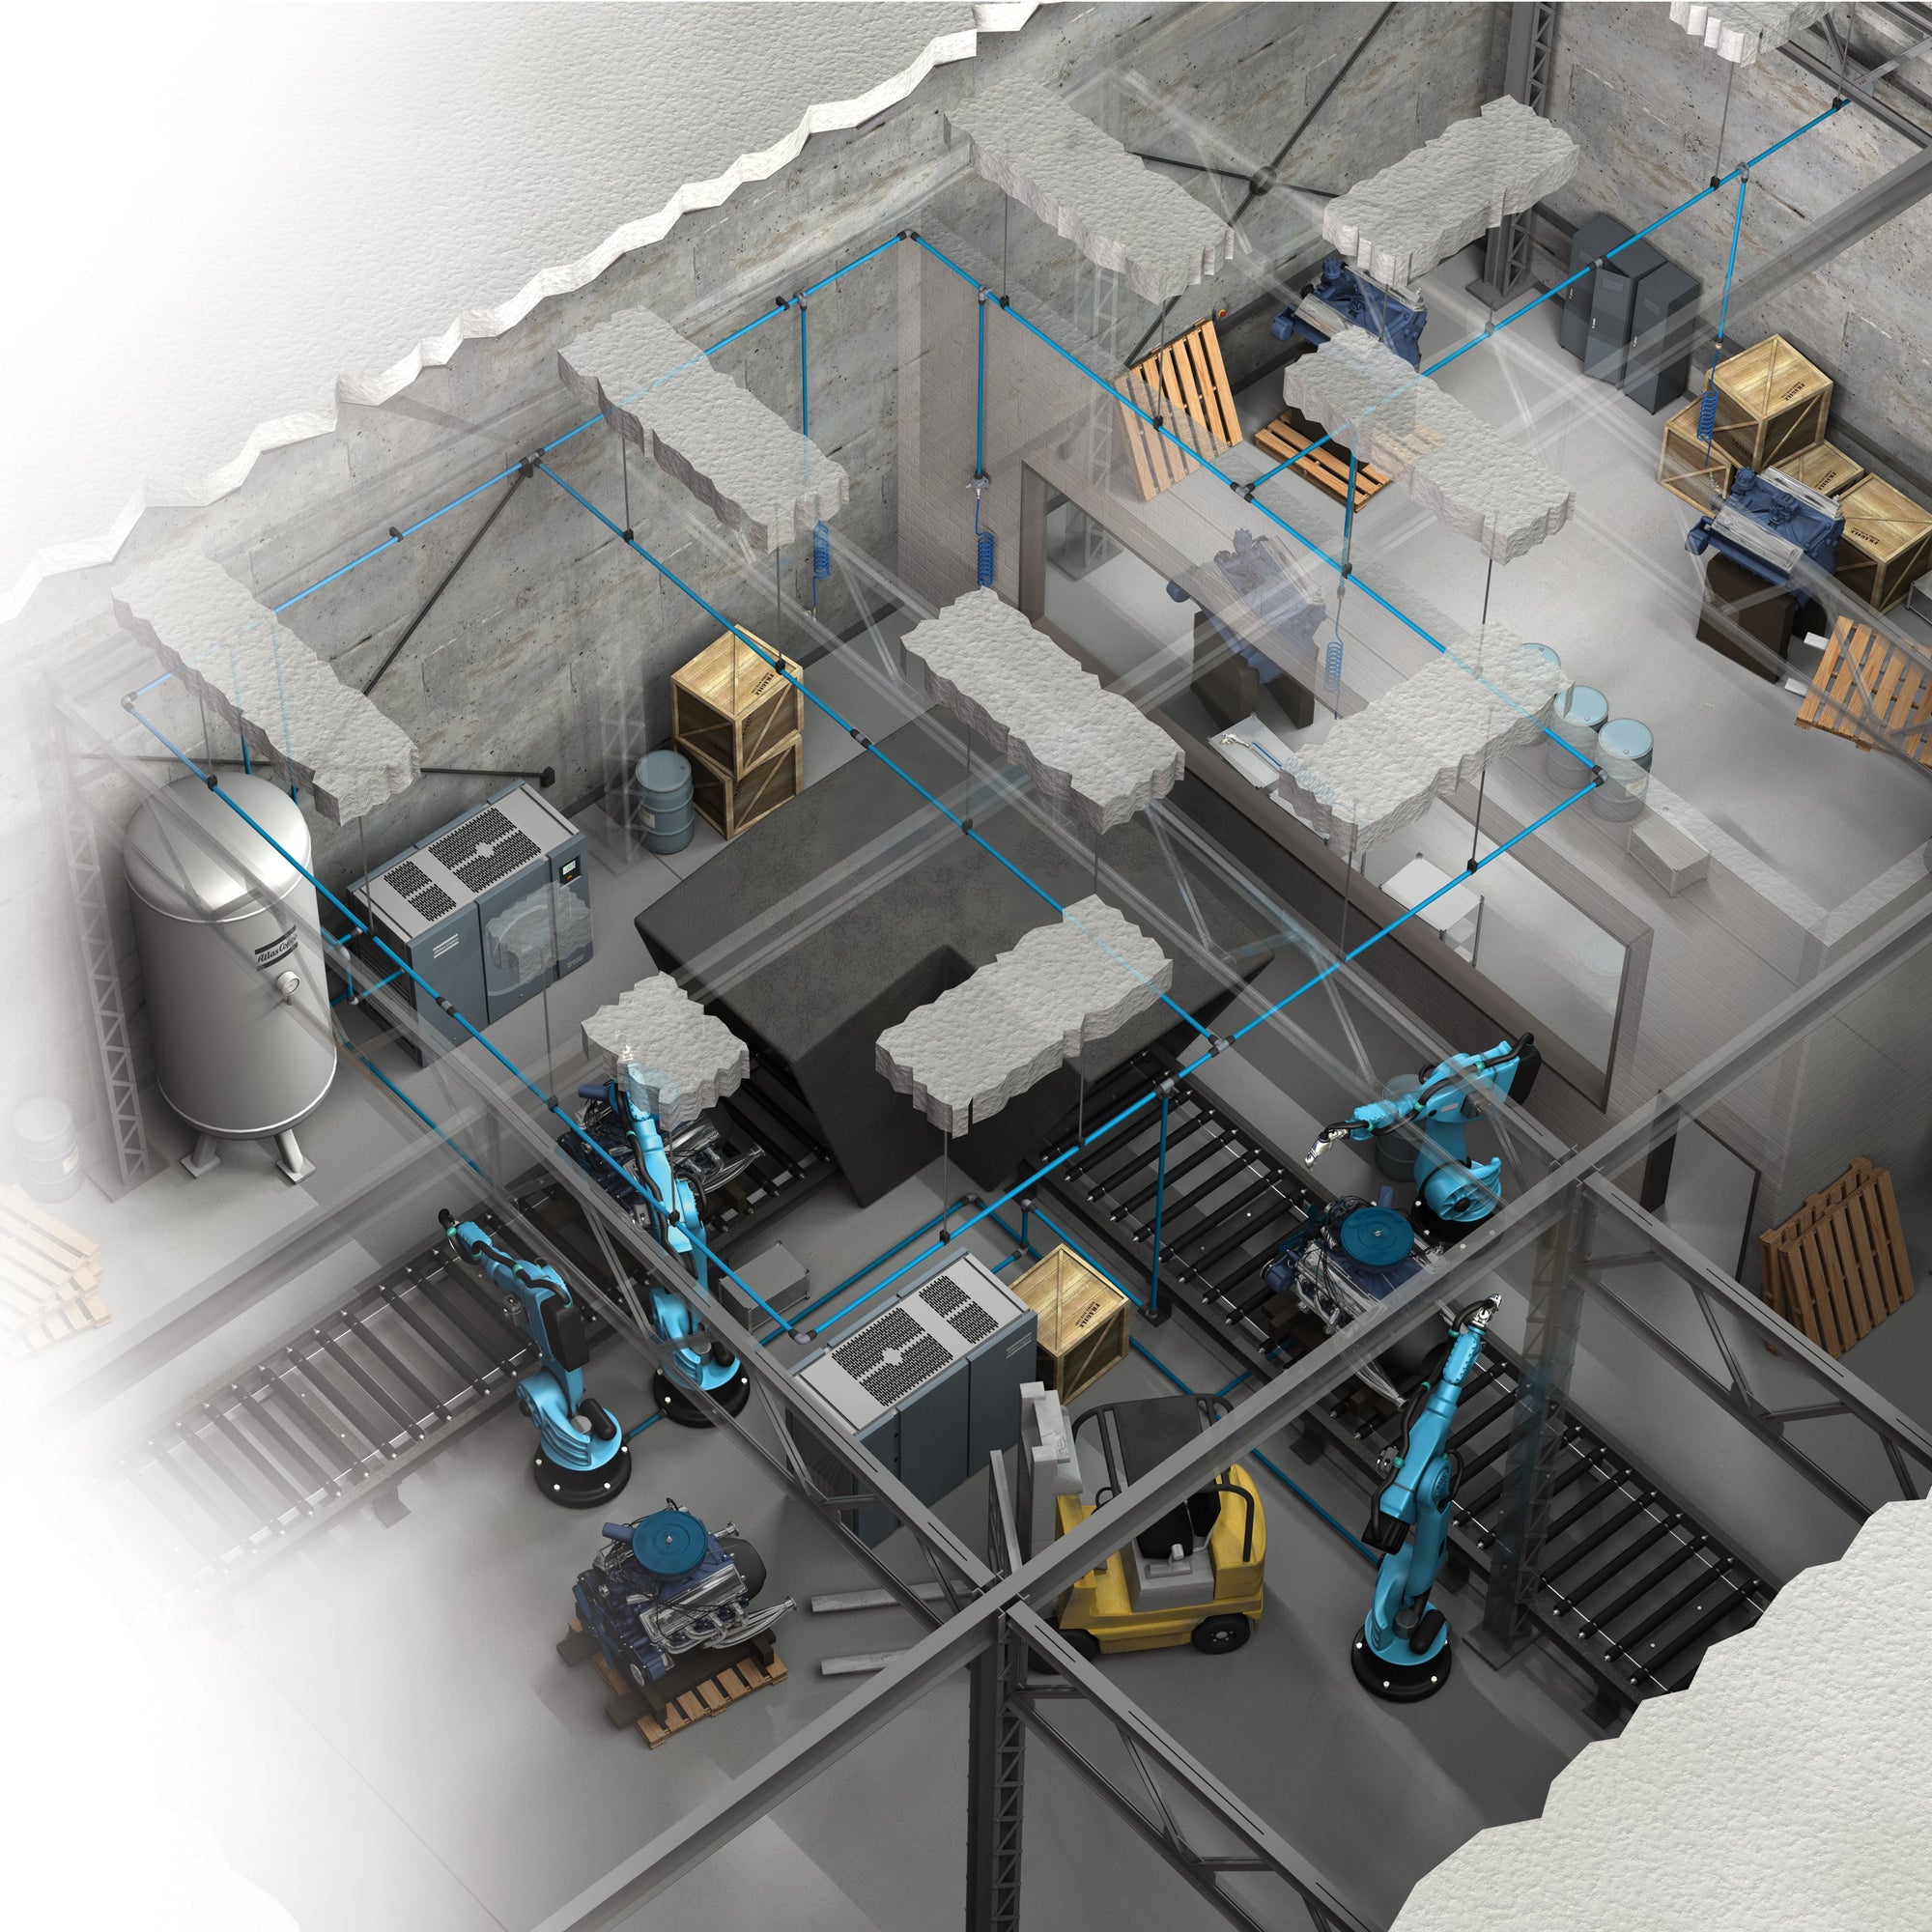
Most of the air problems we get called about are not compressor problems. They are pipe problems. Somebody bought a good 10 hp machine, ran a single 1/2 inch line the length of the building, teed off it wherever a tool happened to live, and now the impact wrench at the far end feels tired. The compressor is doing its job. The plumbing is eating the results.
Installing compressed air lines is not hard work, but the order you do it in matters more than the parts you buy. Here is how we lay one out.
Draw it before you buy anything
Get a tape measure and a piece of paper. Sketch the building, mark the compressor, and mark every place you will ever want air. Not just where the tools are today. Where the second lift is going, where the bench moves next year, the wash bay you keep talking about.
Then decide between two basic shapes.
Dead end (branch) layout. One main line leaves the compressor and runs out to the last drop, with branches teeing off along the way. Cheapest to install. The trade off is that the far end sees every bit of pressure drop from every fitting upstream of it, and when two big tools run at once on the same branch, they fight each other.
Loop layout. The main runs out and comes back to itself, so every drop is fed from two directions. Air can reach any point by the shorter path, pressure across the shop stays much more even, and you can isolate a section with a couple of ball valves without shutting the building down. It costs more pipe. It is worth it in almost any shop bigger than a two car garage.
If you can only do one thing on this list, do the loop.
Pick a pipe material and stop looking
Start with what you cannot use: PVC and CPVC. Do not run plastic plumbing pipe for compressed air. It gets brittle with age, oil from the compressor attacks it, and when it lets go it does not split, it shatters. That is a shrapnel hazard, and it is why you will not find a compressor manufacturer or a safety inspector who will sign off on it.
Here is the honest comparison of the materials people actually use.
| Material | Upside | Downside |
|---|---|---|
| Black iron / steel | Cheap per foot, strong, available everywhere | Rusts inside, heavy, threading is slow work, threaded joints tend to weep over time |
| Copper | Will not corrode, smooth bore, clean look | Material cost, every joint needs solder or press tooling |
| Stainless | No corrosion, handles anything | Expensive, harder to work |
| Aluminum modular | No internal rust, push to connect, light, reconfigurable, fast to install | Higher parts cost than steel |
| Polyethylene / composite tubing | Fast in small shops, no threading, easy to route | Best for lighter duty runs and smaller diameters |
Black iron and galvanized still make up the large majority of systems in the field, mostly because that is what was cheap when they went in. If you are starting fresh, aluminum modular pipe is what we put in our own shop. No threading, no rust flakes ending up in a regulator, and if the layout changes you take a section apart instead of cutting and rewelding. For a small home or hobby shop, a composite tubing kit gets a clean job done in a weekend.
Size the pipe for the run, not the compressor port
The outlet on your compressor is not a sizing recommendation. It is just a port. Size the main off three things: total CFM the system will carry, the length of the run, and how much pressure you are willing to lose getting to the far end.
The target we work to is no more than a 2 to 3 psi loss across the whole distribution system. Every psi you throw away is roughly half a percent of the power you paid to make that air, and you cannot get it back by turning the compressor up.
Two rules of thumb worth remembering:
- When in doubt, go one size up on the main. The cost difference over a 100 foot run is small. The cost of redoing it is not.
- Count fittings as pipe. Every elbow, tee, and undersized coupler behaves like extra feet of straight pipe. A run with fourteen elbows in it is longer than the tape measure says.
Add up the CFM of the tools that will genuinely run at the same time, then add a margin for the stuff you will buy later. Do not add up every tool you own. Nobody runs all of them at once.
Slope the main and take drops off the bottom
This is the part people skip, and it is why so many shops have water at the tool.
Compressed air leaving the compressor is hot and wet. It cools as it travels, and the water condenses out inside the pipe. If the main is dead level, that water sits there and eventually gets pushed down the first branch it finds.
So build the main to move water where you want it:
- Pitch the main. Slope it roughly 1 inch per 10 feet in the direction of airflow, away from the compressor.
- End every run in a drip leg. At the low point, continue the pipe down past the last drop and cap it with a valve or an automatic drain. Water collects there instead of in your tools.
- Take drops off the top or the side of the main, not the bottom. A drop that tees off the bottom of the pipe is a drain for the whole main. Come off the top with a swan neck, or off the side, and let gravity keep the water in the header.
- Put a short drip leg at the bottom of each drop too, with a valve or drain under the takeoff point.
Pair that with a real automatic condensate drain on the receiver. Manual ball valves work great right up until the week nobody remembers to open them.
Support, isolate, and leave room to grow
Hang the pipe properly. Steel needs support every 10 to 12 feet, and aluminum and copper want similar spacing depending on diameter and what the manufacturer specifies. Sagging pipe collects water in the low spots you did not plan for.
Then add the parts that make the system livable later:
- A ball valve at the base of every drop, so one repair does not shut down the shop.
- Isolation valves that split a loop into sections.
- A capped tee where the next machine is going. Ten dollars now beats cutting into a charged line later.
- An air prep set at each drop that needs it. Filter, then regulator, then lubricator if the tool calls for oil.
- Matched quick couplers and plugs throughout, in one style. Mixed coupler styles are a slow leak and a daily annoyance.
Pressure test and hunt leaks before you call it done
Bring the system up to working pressure, then walk every joint with soapy water in a spray bottle. Mark what bubbles and fix it before the pipe gets buried behind racking. Do this on a quiet shop when the compressor is off and the system is holding pressure. If the compressor kicks on with every tool shut off, you have a leak, full stop.
A pinhole you can barely hear runs money out the door around the clock. Fixing the joints on install day is the cheapest leak repair you will ever do.
Frequently Asked Questions
Can I use PEX or garden hose for compressed air lines?
No. PEX is not rated or listed for compressed air, and garden hose is nowhere close. Use pipe or tubing that the manufacturer specifically rates for compressed air service at your working pressure, and check the temperature rating too, because air leaving a compressor can be very hot.
Where should the dryer and filter go in the layout?
Compressor, then aftercooler if you have one, then receiver, then dryer, then filters, then the distribution main. Putting the dryer ahead of the receiver makes it work on hotter, wetter air than it needs to and shortens its life.
How big should my main be for a 5 hp compressor?
For a typical single stage 5 hp unit in a small shop, a 3/4 inch main with 1/2 inch drops handles most jobs, and 1 inch is not a mistake if the run is long. Size it off actual CFM and run length rather than horsepower, since a long run can push you a size up.
Do I need a loop if my shop is only one bay?
Probably not. In a single bay with one or two drops, a straight run with a proper drip leg is fine. The loop earns its keep once you have multiple drops spread out or two people running air tools at the same time.
Can I tie new aluminum pipe into my existing black iron?
Yes. Transition fittings are made for exactly that, and a lot of shops upgrade one section at a time. Just expect rust from the old steel to migrate downstream, so put a particulate filter at the transition and plan on cleaning it early.
The short version
Good compressed air lines come down to a loop where you can afford one, a material that will not rust or shatter, pipe sized a notch bigger than you think you need, a main that slopes toward a drip leg, and drops that come off the top. Get those five right and the system will still feel good in fifteen years.
If you want a hand laying it out, send us a rough sketch with your building dimensions, compressor size, and drop locations and we will spec the pipe and fittings for it. Everything you need for the job is in the air pipe and fittings section.


