


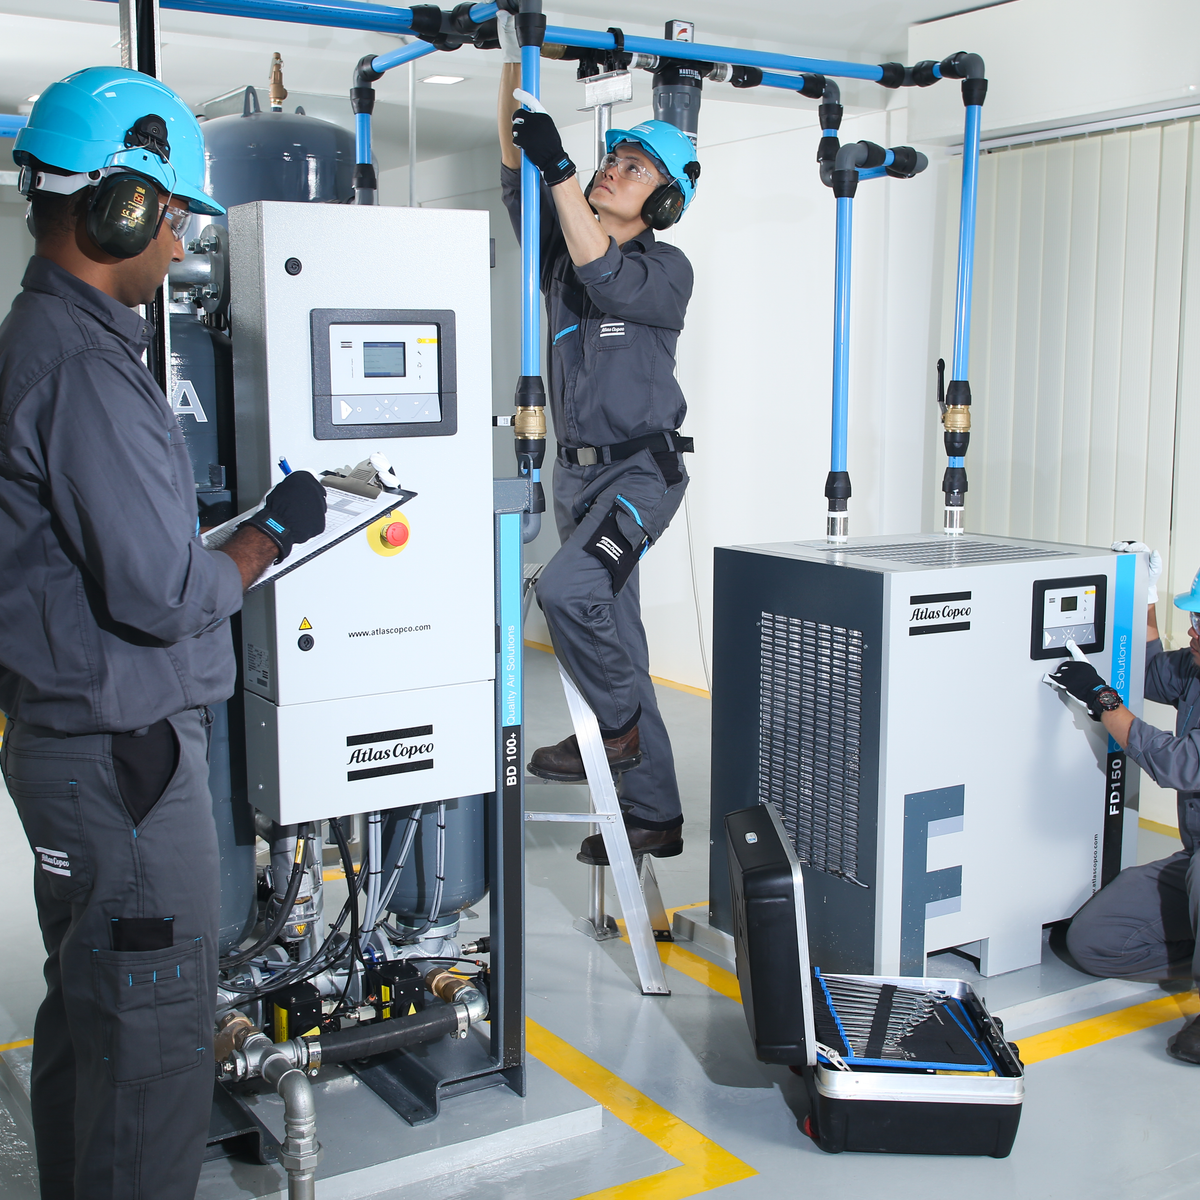
We get a call every August that goes about the same way. A shop bought a 50 HP rotary screw two years ago, put it in the only space they had, and now it trips on high discharge temperature every afternoon once the outside temperature clears 90. They want to know if the machine is defective.
It is not defective. It is sitting in a 10 by 12 closet with one undersized louver, breathing its own hot discharge air, and that closet is running 115 degrees by two o'clock. The compressor is doing exactly what it was designed to do, which is shut down before it cooks itself.
Almost everything that goes wrong in the first three years of a compressor's life traces back to the day it was set. A good air compressor installation is not complicated and it is not expensive, but it has to be decided before the machine shows up on the truck, because a lot of it is hard to change afterward.
Decide These Five Things Before Delivery
Every installation problem we see comes from one of five things nobody settled in advance.
- Where it goes. Floor, clearance, door width to get it in there.
- How the heat gets out. This is the one people underestimate by the widest margin.
- Power. Wire, breaker, disconnect, and on three phase, rotation.
- How it ties into the piping. Flexible connector, isolation, and whether you can service the dryer without shutting down.
- Where the condensate goes. Not the floor drain.
The Floor and the Space Around It
A packaged rotary screw does not need a special foundation in most buildings. A level, sound concrete slab rated for the weight is enough, and most manufacturers only ask that the unit sit flat and not be bolted to a structure that will transmit vibration into the building. For a tank-mounted reciprocating compressor, which shakes a great deal more, isolation pads under the feet are worth the forty dollars and will save you cracked welds and loosened fittings. Our piece on compressor vibration isolation covers that in detail.
For clearance, the working rule is three feet on the service side and two feet on the remaining sides, plus whatever the cooler needs to breathe. Then add the footprint of everything that goes with it: the receiver, the dryer, the filters, and the drain. People plan for the compressor and then discover there is no room for the air treatment, which is how dryers end up in hallways.
Check the door before you order. We have watched a 60 HP machine sit on a dock for a week while a doorway got cut wider.
Ventilation: Do the Arithmetic, Not the Guess
Essentially all the electrical energy you put into a compressor comes back out as heat in the room. A 50 HP machine is a 50 HP space heater that happens to make air. If that heat does not leave the room, the room climbs until the compressor shuts down on high temperature.
The calculation is straightforward:
Ventilation CFM = (HP x 2,545) / (1.08 x temperature rise in degrees F)
Pick a rise you can live with. Ten to 15 degrees above outside ambient is a reasonable target. Run a 50 HP machine with a 15 degree rise and you get (50 x 2,545) / (1.08 x 15), which is about 7,850 CFM of air movement. That is a real exhaust fan and a real intake louver, not a bathroom fan and a gap under the door.
| Compressor | Approximate heat load | Ventilation at 15 F rise |
|---|---|---|
| 15 HP | 38,000 BTU/hr | about 2,350 CFM |
| 25 HP | 64,000 BTU/hr | about 3,900 CFM |
| 50 HP | 127,000 BTU/hr | about 7,850 CFM |
| 100 HP | 255,000 BTU/hr | about 15,700 CFM |
A few practical points. Most manufacturers cap ambient around 104 F, and some allow a little more, so check your manual rather than assuming. Put the intake low and the exhaust high, on opposite sides, so you are not recirculating. Thermostatically control the exhaust fan so you are not pulling freezing air across the machine in January, which causes its own problems with condensate and oil viscosity. And if you are ducting the cooler discharge outside, keep the duct short and count its static pressure against the fan, because a cooler fan that cannot push through the duct is the same as no duct at all.
Worth considering while the ducting is open: that heat is usable. See compressed air heat recovery. Our fuller writeup on the room itself is in air compressor room requirements.
Electrical
Get an electrician. That said, know enough to check the work.
NEC Article 430 governs motor circuits. Branch circuit conductors are sized at 125 percent of the motor full load current, and the short circuit and ground fault protective device is sized by table and can run considerably higher than the conductor ampacity, because a motor's inrush is not a fault. If your electrician sizes the breaker to the wire rather than to the motor table, the compressor will nuisance trip on every start. We laid out the sizing in what size wire and breaker does an air compressor need.
Three more items that get skipped:
- Disconnect within sight of the machine. Required, and it is also what makes lockout practical. See compressed air lockout tagout, because the stored energy in a receiver is the part people forget.
- Phase rotation on any three phase rotary screw. A screw airend run backward is damaged in seconds, not minutes. Bump it, confirm rotation against the arrow, then start it. This is the single most expensive five second check in the industry.
- Voltage under load, not at rest. Measure at the starter with the machine loaded. A long undersized feeder can read 480 at idle and sag to 440 under load, and that sag shows up as a hot motor and a shortened life.
Tying Into the Piping
How you connect the machine determines whether maintenance is a ten minute job or a Saturday.
- Flexible connector at the discharge. Never hard-pipe straight out of the compressor. Thermal growth and vibration will crack something, and pipe weight hanging on the discharge port is a warranty argument waiting to happen.
- Isolation valve at the machine. Full port ball valve so you can pull the compressor without draining the system.
- Bypass around the dryer and filters, with isolation on both sides. This is how you change a filter element on a Tuesday afternoon instead of at midnight. Put a tag on the bypass so it does not quietly become permanent.
- Take the header off the top of the main. Keeps condensate out of the branch.
- Get the treatment order right. Aftercooler, wet receiver, filters, dryer, after filter, dry receiver. We walked through why in building the treatment train in the right order.
- Size the first fifty feet generously. Nobody has ever regretted an oversized header. Pipe sizing guide if you need the tables.
Condensate
An oil-lubricated compressor produces condensate that is an oil and water emulsion. Putting it down a floor drain is a discharge violation in most jurisdictions and it is one of the easier things for an inspector to find, because the evidence is a stain on the concrete.
Route every drain, from the receiver, the dryer, and each filter bowl, to an oil water separator sized for your compressor's output. Then dispose of the collected oil as waste oil. Sizing is covered in our oil water separator sizing guide. If you have an oil-free machine the water is still not clean, since it picks up whatever came in the intake, so check your local rules before assuming you can drain it.
Commissioning: The Day One Checklist
Run this before you walk away, and write the numbers down. The baseline is worth as much as the installation.
| Check | What good looks like |
|---|---|
| Oil level | At the sight glass mark with the machine stopped, and a second check after an hour of running |
| Rotation (three phase) | Matches the arrow on the airend. Bump test before the first full start |
| Belt tension (belt drive) | Per the manual, measured, not thumbed |
| Loaded and unloaded amps | Recorded on all three legs, balanced within a few percent |
| Voltage under load | Within 10 percent of nameplate at the starter |
| Discharge temperature | Typically 170 to 200 F on an oil-flooded screw, stable |
| Cut-in and cut-out pressure | Set to the lowest pressure that runs your tools, not to the gauge maximum |
| Leak check | Soap every joint you made, at full pressure |
| Dryer dew point | Measured at the outlet, not read off a panel light |
| Safety relief valve | Correct setting for the receiver, tagged, not painted over |
| Drains | Each one cycling and routed to the separator |
On a reciprocating compressor, follow the manufacturer's break-in. That usually means a short run at low load, an oil change at the specified early interval, and a retorque of the head bolts. Skipping it is how a new pump ends up with a glazed bore.
Then set your pressure properly. Every psi of extra discharge pressure costs roughly half a percent in energy, and most shops run 15 to 20 psi higher than they need because somebody turned it up once to chase a problem that was actually a restriction. What PSI should your compressor be set to covers that.
Frequently Asked Questions
Can I put the compressor outside to solve the heat problem?
You can, in an enclosure or a shed, and in hot climates it is often the best answer. What you give up is freeze protection. Condensate in a receiver, a dryer, or a drain line will freeze and either block the system or split something. If you go outside, you need a heated enclosure or a tracing and insulation plan, and you need the drains inside the heated envelope. See how to winterize an air compressor.
Does a rotary screw need a concrete pad or anchor bolts?
Most packaged units need a level, sound slab and nothing more. Check the manual, because a bare airend or a large base-mounted machine may call for grouting or anchoring. For reciprocating compressors, isolation pads are more useful than anchors, since the goal is to keep vibration out of the building rather than to hold the machine down.
How much clearance do I actually need around the compressor?
Three feet on the service side, two feet on the others, as a working minimum. The number that actually matters is whether the cooler can draw air without pulling its own discharge back in, and whether a tech can get a panel off and an airend out. If the answer to either is no, the clearance is not enough no matter what the tape measure says.
Should the dryer go before or after the receiver?
Both, ideally. A wet receiver before the dryer lets water drop out and buffers the dryer against surges. A dry receiver after the dryer is what actually supplies your peak demand. If you only have one tank, put it before the dryer and size the dryer for your peak flow rather than your average.
What should I record on the day it starts up?
Loaded and unloaded amps on all three legs, voltage under load, discharge temperature, cut-in and cut-out pressure, dryer outlet dew point, and the hour meter reading. Two years from now, when something feels off, those six numbers tell you whether it changed or whether it was always like that. Nothing else in troubleshooting is worth as much.
Getting It Right the First Time
The installation is the cheapest part of owning a compressor and the part that determines most of what the machine costs you afterward. Ventilate for the actual heat load, size the wire and breaker by the motor rules, give yourself isolation and a bypass so maintenance is easy, keep the condensate out of the drain, and write down the day one numbers.
If you are specifying a machine now and want to work through the room, the power, and the piping before you buy, browse air compressors and call us. Tell us the space, the voltage, and what the air is running, and we will tell you what will actually fit and what it will take to install it.


