


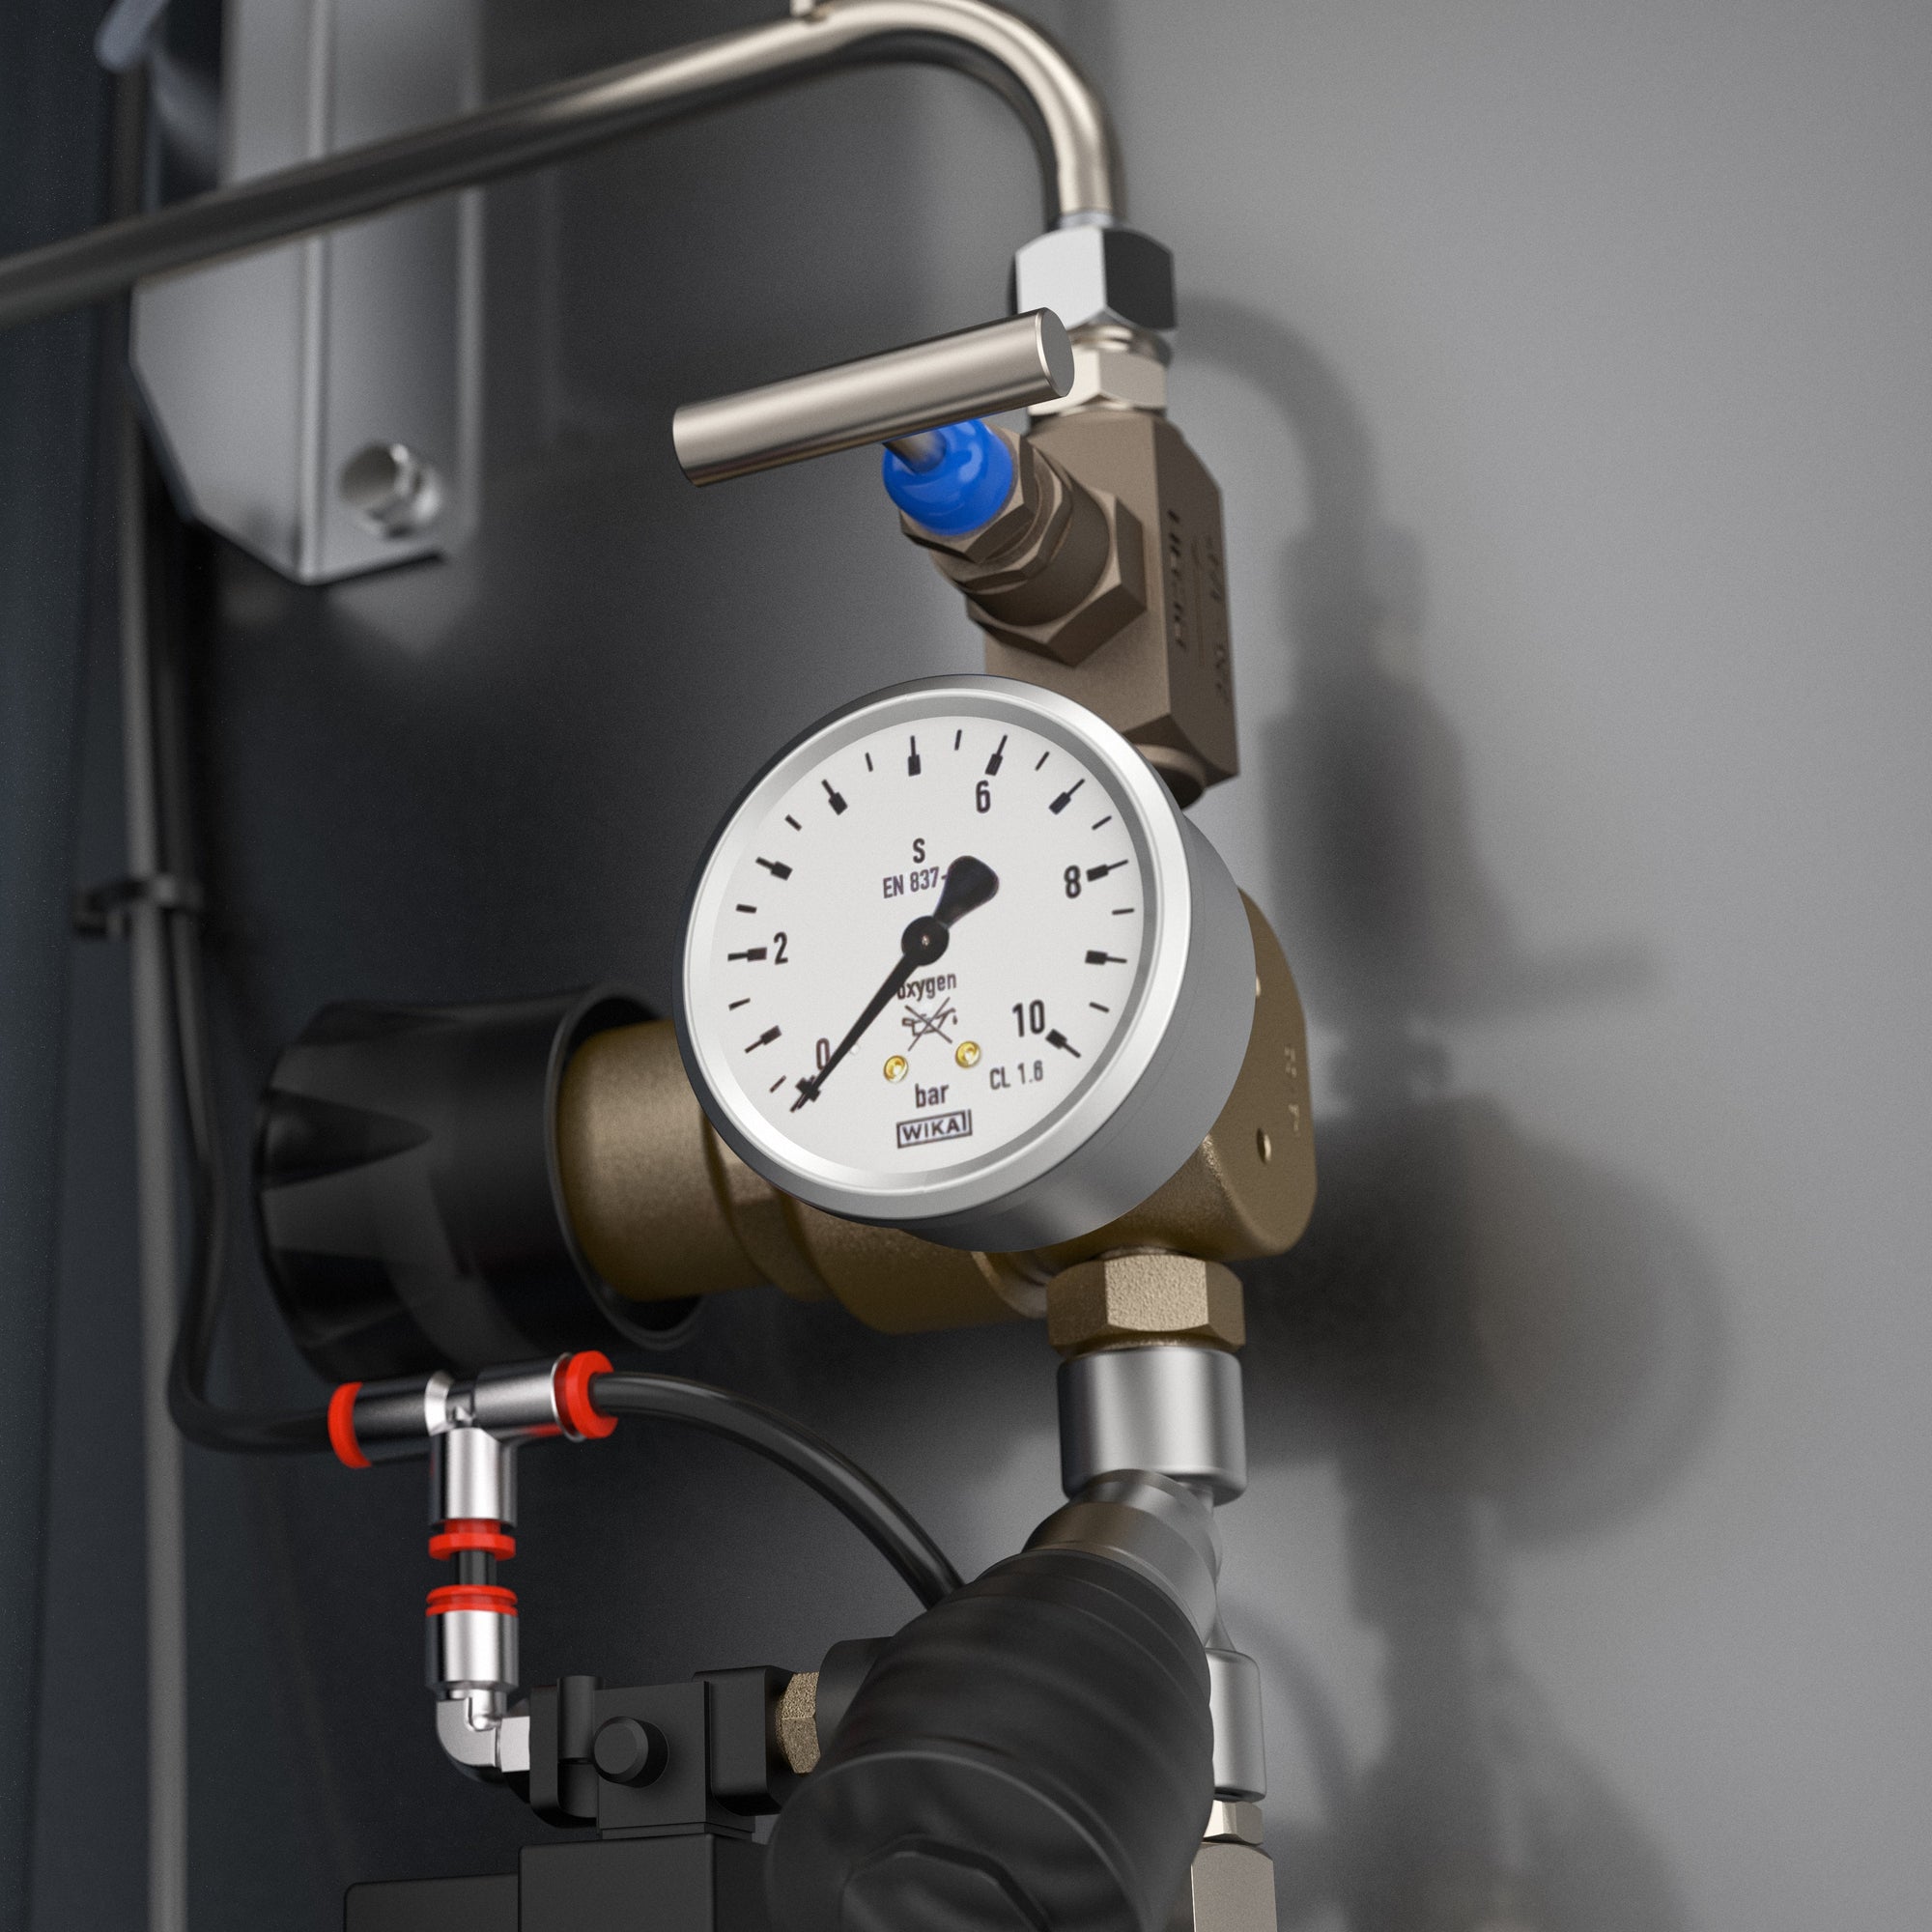
Air Compressor Pressure Gauge: How to Read It and When to Replace It
Two gauges sit on the front of most compressors, and plenty of folks have run a machine for years without being sure what the second one is telling them. Then one day a needle sticks, or reads zero with a full tank, and suddenly that little dial matters a lot. An air compressor pressure gauge is a cheap part, but it is your only window into what the machine is doing, so it pays to actually understand it.
We field calls all the time that turn out to be a bad gauge, not a bad compressor. Someone swears their unit will not build pressure, when really the pump is fine and the gauge is lying. So let's cover what each gauge shows, how to read them together, and how to tell when one has quit.
Why there are usually two gauges
On a typical compressor you have a tank gauge and a regulated gauge, and they measure two different things.
The tank gauge shows how much pressure is stored in the tank right now. It climbs as the pump runs and falls as you use air, cycling between the cut-in pressure (when the motor kicks on) and the cut-out pressure (when it shuts off), often something like 105 to 135 PSI on a shop unit.
The regulated gauge shows the pressure you have dialed in for your tool, downstream of the regulator. This is the working pressure that actually reaches your hose. You set it with the regulator knob, and it stays put even as the tank pressure rises and falls above it, as long as the tank stays higher than your setting.
Reading them together tells the story. Tank high, regulated set where you want it, tool running right: all good. Tank climbing fine but regulated gauge acting strange: look at the regulator. Tank not climbing at all: now you look at the pump, or at the gauge itself.
How a pressure gauge actually works
Most compressor gauges are the simple mechanical kind, called a Bourdon tube gauge. Inside is a curved metal tube that straightens out a little as pressure rises. That tiny movement drives a linkage and the needle. It is a clever, rugged design that needs no power and lasts a long time. But it is mechanical, which means it can wear, clog, get knocked out of calibration, or freeze up from rust and moisture.
The signs a gauge has gone bad
A failing gauge shows itself in a few clear ways. Catch these and you save yourself from chasing a problem that is not really there.
Needle reads zero with pressure in the tank. If you can hear air in the tank, or the safety valve holds pressure, but the gauge sits on zero, the gauge or its connection has failed.
Needle sticks or jumps. A needle that lags, then snaps to a reading, or that does not return to zero when the tank is empty, is worn or gummed up inside.
Two gauges disagree. If you have a second known-good gauge, or a tire gauge to spot-check, and the readings are far apart, one of them is off. The safe assumption is the one that has been on the machine longest.
Cracked lens or fogged face. Moisture behind the glass means the case seal is gone, and corrosion inside is not far behind. Replace it before it seizes.
Reading the two gauges together
| What you see | What it usually means |
|---|---|
| Tank gauge climbs, regulated gauge set and steady | Normal operation |
| Tank full, regulated gauge at zero with knob open | Regulator or regulated gauge problem |
| Tank gauge stuck at zero, air clearly in tank | Bad tank gauge or blocked port |
| Tank never reaches cut-out, gauge otherwise fine | Pump, valve, or leak issue, not the gauge |
| Needle will not return to zero when drained | Worn gauge, replace it |
Picking the right replacement gauge
Swapping a gauge is one of the easiest fixes on a compressor, but you want to match a few things so the new one fits and reads right.
Pressure range. Pick a gauge whose full scale is comfortably above your cut-out pressure, ideally so your normal operating pressure lands in the middle of the dial. A gauge that reads 0 to 200 PSI is a common shop choice. Running a gauge near the top of its range all day wears it out faster.
Thread size and connection. Compressor gauges are usually a 1/8 or 1/4 inch NPT thread. Match it, and note whether the connection comes out the bottom (lower mount) or the back (center back mount), because that decides how it sits in the panel.
Dial size. Match the face diameter so it fits the opening, commonly 1.5 or 2 inches on small compressors.
Accuracy and build. For a shop compressor, a standard accuracy gauge is plenty. If the machine vibrates hard, a liquid-filled gauge dampens the needle so it is easier to read and lasts longer. Use thread sealant on the male threads, snug it up with a wrench on the hex, not by cranking the case, and you are done.
Swapping a gauge, step by step
This is a ten minute job on most machines and needs almost no special tools. First, and this is the part people skip, drain all the air from the tank and confirm the tank gauge and the tank itself read zero. Never work on a pressurized system. Open the tank drain and let it hiss out completely.
Next, unthread the old gauge with a wrench on the fitting hex. If it fights you, a little penetrating oil and patience beats brute force, because you do not want to crack the port. Clean the threads on the tank or manifold, wrap two or three turns of thread sealant tape on the male threads of the new gauge, and thread it in by hand until snug. Finish with a wrench on the hex, not on the case, and stop when it is tight and the dial faces where you can read it. Overtightening by twisting the case will wreck the new gauge. Refill the tank, spray the joint with soapy water to check for leaks, and watch that the needle climbs smoothly and returns to zero when you drain it again. That is the whole job.
A quick word on safety
The pressure gauge is a monitor, not a safety device. The part that actually protects you from overpressure is the safety relief valve, which is a separate component and is not optional. Never rely on a gauge to keep a tank from overpressurizing, and never plug a gauge port to silence a nuisance leak. If a gauge fails, replace it, and while you are at it, give the relief valve a quick test so you know your real safety net is working.
The bottom line
Your air compressor pressure gauge is a few dollars of part that tells you almost everything about how the machine is running. Learn to read the tank and regulated gauges together, watch for the telltale signs of a gauge going bad, and match the range, thread, and dial when you replace one. Do that and you will stop misreading a healthy compressor as a sick one.
You can find replacements in our pressure gauges collection. While you are dialing in your setup, it is worth checking your air regulators and browsing related compressor parts so a small fix does not turn into a second trip.
Frequently Asked Questions
Why does my air compressor gauge read zero when there is air in the tank?
That points to a failed gauge or a blocked or loose connection at the gauge port, not an empty tank. If the safety valve holds pressure or you can hear stored air, the pump is doing its job and the gauge is the problem. Replace the gauge and check the fitting.
What do the two gauges on my compressor mean?
The tank gauge shows the pressure stored in the tank, which cycles between cut-in and cut-out. The regulated gauge shows the working pressure you have set with the regulator for your tool. The tank number stays higher, and the regulator holds your tool pressure steady below it.
How do I choose a replacement pressure gauge?
Match the pressure range so your operating pressure sits mid-dial, the thread size and connection type (commonly 1/8 or 1/4 inch NPT, lower or back mount), and the dial diameter so it fits the panel. A liquid-filled gauge is worth it on machines that vibrate hard.
Can I run my compressor with a broken gauge?
You should not. The gauge is how you monitor pressure, and running blind risks overpressure or damage. The gauge is not your safety device, though. The safety relief valve protects against overpressure, so never plug a gauge port or rely on the gauge for protection. Replace a bad gauge promptly.
Why is my pressure gauge stuck?
A stuck needle usually means the mechanical movement inside is worn, gummed with debris, or corroded from moisture that got behind the lens. A gauge that does not return to zero when the tank is empty is worn out and should be replaced.


